For the Love: Kelli D.
Kelli D. actively lives by God’s calling to share the burdens of others. She says, “By being a part of the Medi-Share...
Kelli D. actively lives by God’s calling to share the burdens of others. She says, “By being a part of the Medi-Share...
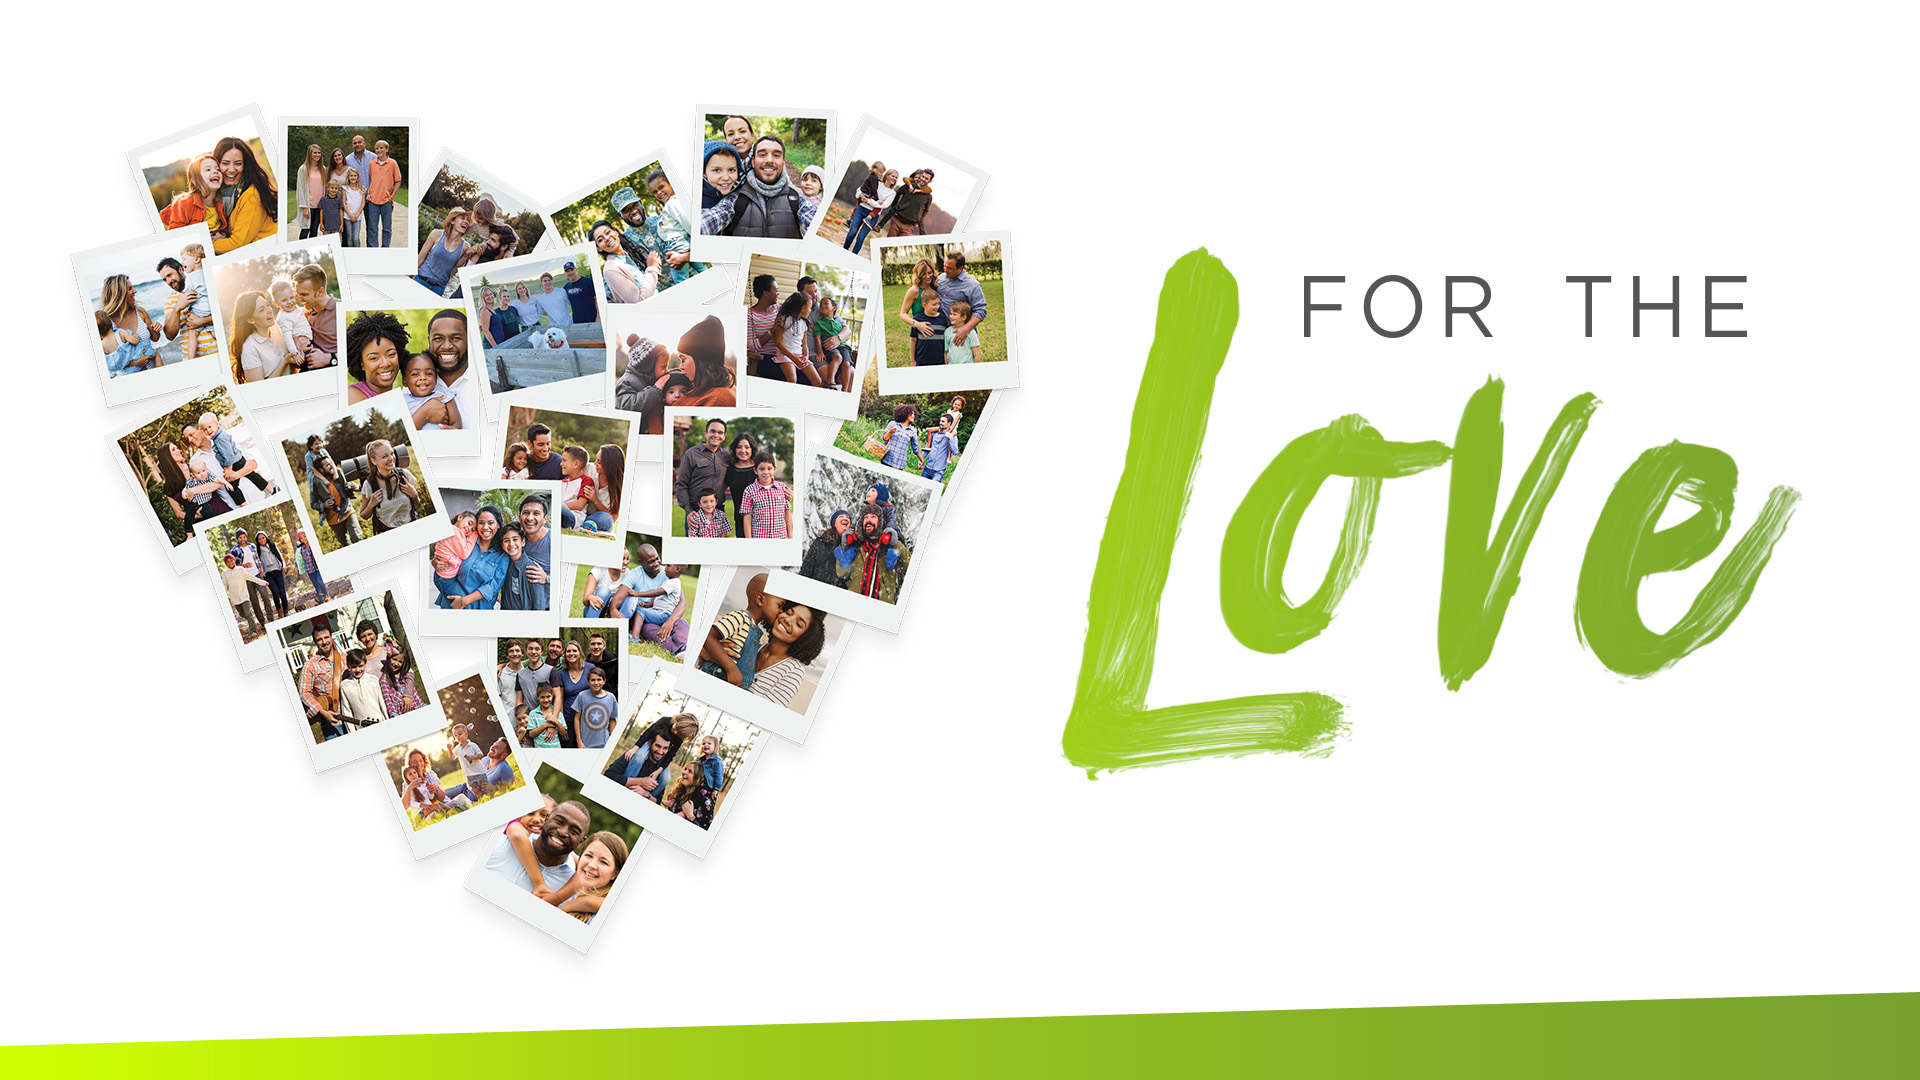
We believe one of the best aspects of being a Medi-Share member is staying connected to a community of believers across...
Today we are celebrating Deanna and Troy A.! These loyal members have been part of the Medi-Share family for 21 Years!...
Medi-Share is a community of people who share one another’s burdens and walk through life together. One of the best...
Medi-Share believes our members deserve an affordable option for their family’s health care needs - especially when the...
“It really works!” That’s what Javi said when we asked him why he loves and recommends Medi-Share to his friends and...

At Medi-Share, everything we do is for our members. We believe in helping you save on monthly health care costs while...
For many people, including Daniel, the best part of Medi-Share is that believers get the opportunity to put their faith...
At Medi-Share we are committed to easing the burdens of others through endless LOVE! Nancy L. is one of the incredible...
Today we are celebrating husband, father, and outdoor enthusiast, Bobby C.! He is one of the 400,000 Christians across...